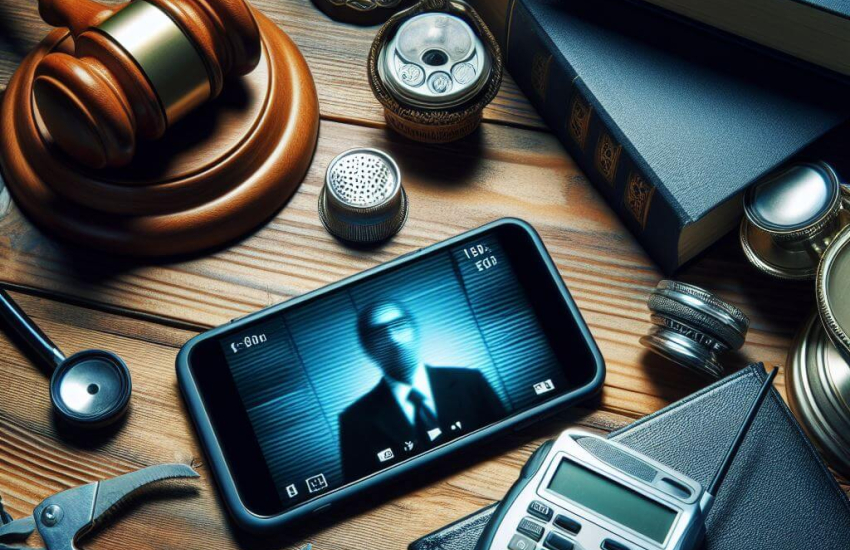
The process of bringing surveillance video in court as evidence includes several steps. You must complete every step carefully. The footage must be genuine. There are many expert testimonies you can get in order to bolster your evidence.
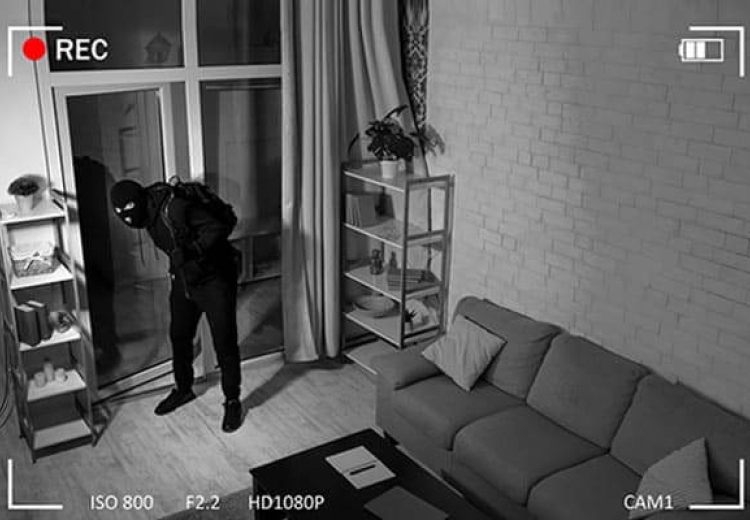
The purpose of installing surveillance in workplaces or private properties is to establish security and keep everything in check. So, when you notice a security breach or any crime occurring to you or within your territory, you may and should use that video footage as evidence in court.
However, the process can feel complex the first time, given you don’t have an attorney and a proper strategy for the procedure. As such, we have compiled a step-by-step guide to the legal admissibility of surveillance video in this article. It can help you get through any objections and such.
Be aware that some details will differ from state to state. However, the overall process is similar throughout the nation. So, let’s get to the main topic.
Step-by-Step Guide to Legal Admissibility

A video proof can only be presented in court if it matches all the following factors-
- It must be relevant to the case.
- It must prove that an offense has happened.
- The identity of the individuals or at least their activities on the tapes must be apparent.
- The videotape must showcase an exact document of the events that took place.
Next, let’s go over the steps from readying surveillance video evidence to presenting it before the judge in court.
Step One: Collection and Securing
First, identify the right evidence. You mustn’t touch or tamper with the footage before identifying it. Keep a valid record of everything, including the time, place, experts, and relevant individuals involved.
- Gather the video evidence without making any changes, edits, or such.
- Get a forensic examiner to create a forensic image of the footage.
- Secure the evidence properly under lock and keys for future analysis.
- Examine the details by digital forensic analysis experts. It will help to reimagine the entire event accurately.
It is highly recommended to keep a copy of the original content to prevent the other parties from questioning its admissibility. Make sure to note down every detail during the handling of the evidence, with screenshots, other footage, or written proof as needed.
Step Two: Analyze the Authenticity of the Surveillance Video Evidence
Video files can be easily tampered with, so verifying their accuracy and whether they are genuine is mandatory. There are some steps you can take to that end.
- Get a video forensic analyst to examine the footage in slow motion to look for any edits or alterations. The experts can detect any weird transitions if it has gone through any manipulations.
- Use features or sites like TinEye to check whether any frame of the video has been posted elsewhere on the internet. You can also use Google reverse image search for that.
- Photos, videos, or even audio files include metadata. It represents its origins, including the location of its recording, the device it was shot from, and many other relevant details. You can take the location coordination from it and search it on Google Maps to ensure that the footage is from the places of the event. Also, check if the shot’s timing aligns with the occurrence’s time.
Note that if there are any malfunctions with the imaging devices, that may give the opposition a chance to question the evidence’s validity. So, it is better to keep your security cameras in tip-top shape at all times.
Step Three: Separate the Evidence from the Most to Least Important
Your next step should be to differentiate and short out evidence pieces from the best ones to the worst ones. For example, one where the culprit’s face is clearly visible and another where it is clear that they are committing a crime must be given a higher importance than ones where these factors are not as apparent.
Make sure to filter out all the unnecessary bits and only keep the footage of the crime being committed or the culprit’s identifications. This process can be very tricky, and you will have to work with what you have.
So, even if you don’t have any footage where the identifications of the individuals in it are unclear, you can still use them if they give any clear and reliable hint of their possible identity or the crime. Think clearly as to which ones will be the best pieces of evidence among what you have and keep them on the top of the importance hierarchy while arranging the others below it.
Step Four: Ensure That the Video File Is in the Right Format
Let’s say that you have completed all the previous steps and bring the video files before the court. The court approves of your request to play the footage. But suddenly, the player device shows that the file is not supported. You never want that unexpected outcome, do you?
Hence, it is imperative to convert the video file to a format supported by most modern video players. However, as you can understand, one must complete the process very carefully. The footage can be valuable evidence, which you don’t want to ruin during its conversion.
Use a conversion method that doesn’t remove or alter anything in the metadata. It must also keep the file properties intact. Don’t convert the original piece, but a copy. So, if the court asks for the original, you have it on hand. It also prevents accidentally manipulating the original file.
Step Five: Learn and Practice the Method of Presenting the Evidence in the Court
You can’t just provide the evidence in court and be done with it; you must also explain it and defend it in case of any objections. Unless you have an attorney, you must be ready for several processes and activities in the court after presenting your evidence. They include the following-
- Tell that you have watched the whole footage, analyzed, and completed all the necessary procedures.
- Explain the content of the video and prove your point.
- Provide a list of exhibits.
- Summarize your whole case.
- Call your witnesses. Also, cross-examining the opposition’s witnesses.
- Defend any objections by the opposition smartly. You may have to predict them beforehand and plan out proper and valid counter-arguments.
- If any question about the validity of the footage is raised, you must testify to its authenticity.
You should do all the above things in a professional manner. It must be hard for many. So, it is better to practice them beforehand in your home.
Also, remember that the process may not be the same in every state. So, before your hearing, it is better to visit some previous ones so that you can have a clear idea. You can also search it on the internet or talk to someone who has gone through the process before.
Step Six: Make a List of the Exhibits and Mark Them Accordingly
Of course, the evidence may be on several different exhibits. As such, it is a must to mark them in the order of their presentation. So, the one you want to present first may have number one, the next one will be two, and so on.
Suppose the exhibit is too small (like a memory card); put it in a bag and write the marking on it. Make sure not to ruin the exhibit by writing on it. For example, writing on a CD is not recommended. It is always better to write on the bags that each one is stored in.
Step Seven: Keep Some Copies of the Exhibit
You may want to have several copies of the original video footage exhibits. The judge, the opposition, and several other people in the court may legally ask you for a copy of your exhibit. When they do so, you can hand them out the copies. Of course, keep the original file with you at all times until the court asks for it.
Usually, it is better to keep the files in various exhibit types, including DVDs, CDs, Memory cards, and flash drives. You can also upload the file on your Google Cloud storage with restricted access until necessary.
If the video footage contains any spoken word or conversation between people, you should prepare an official transcript of it. An authorized professional can do the job. The transcript should mention the timestamp when the dialogues are spoken and the person speaking.
Step Nine: Get the Presentation to the Court
After completing all the previous steps (double-check them if necessary), arrange them somewhere you don’t forget. Keep the paperwork like the chain of custody, official transcript, and other ones with them, too.
When bringing all your evidence to the court, it is better to bring a video player that supports your file format just in case. Finally, prepare yourself mentally and head out for the court.
Handling and Chain of Custody
We have mentioned the chain of custody above, and you may have wondered what it is. Well, It means documentation of anyone accessing the evidence in question during any of the steps above.
Keep a detailed note of the chain of custody for the digital evidence. Otherwise, the opposition can easily question the reliability of the evidence and dismantle it.
A chain of custody must include literally anyone who accessed the evidence when they did it, their reason for access, and how they handled the evidence.
The more detail it contains, the better. If you are not sure about how to prepare and maintain a chain of custody, research it properly.
Legal Hurdles and How to Clear Them
It is common to face complications in the court, such as objections from the opposition or even the judges. If you want to avoid such events, you can follow the points below-
- Make sure that your surveillance system and management are all in accordance with the law of the state.
- Ensure that the imaging device that recorded the footage has no malfunctions.
- Keep the chain of custody detailed, and do not miss anything.
- If the cameras were in private places or places where it is illegal to monitor someone, the opposition may raise questions about privacy infringement. If you can filter that footage out, do so. But if they have very precious evidence, then you may need to keep them. Come up with some concrete reasoning behind your recording of the person in the places.
- Do not compress the video footage. Basically, keep the file totally authentic for the court hearing.
The Role of Expert Testimony
If you have read the article so far, you may have come across many experts who can strengthen the admissibility of your surveillance footage. So, let’s review them below-
- A forensic examiner can create a forensic image of the video footage.
- A forensic analysis expert can help you observe and analyze every minute detail of the video content so that you don’t miss anything valuable.
- A video forensic analyst can help you check for any alteration of the footage. Since you need authentic files, the expert can look for any temperament.
- Do not compress the video footage. Basically, keep the file totally authentic for the court hearing.
Many digital forensic investigators can do most of the above steps. Of course, you can call the above experts on the stand during the court hearing to verify the authenticity in front of the judge and jury.
Before hiring any expert, make sure that they have the proper qualifications. Not everyone is as experienced, and some have more credibility than others. Look into these matters carefully.
FAQs
Can Video Surveillance Be Used As Evidence in a Criminal Case?
Yes, you can use video surveillance as evidence in court. You must go through the necessary steps and also ensure that the footage doesn’t violate the Fourth Amendment, which protects an individual’s privacy from surveillance systems.
Should You Bring Video Evidence to Court?
If you have proper and authentic video evidence, you should definitely take the proper measures to bring them to court. They can be valuable evidence, and records show how video evidence has helped many win their cases in court.
Can a Judge Testify About Missing Surveillance Video?
In most cases, a judge won’t testify about missing surveillance video since it breaks the rule of best evidence. However, if the video is lost not from the party that presented it as evidence, the court may make an exception.
In such cases, the jury may often allow the verbal description of the investigator as evidence as long as it is reliable and represents the event properly. So, make sure to observe your video content carefully and memorize every crucial factor.
piscing elit. Ut elit tellus, luctus nec ullamcorper mattis, pulvinar dapibus leo.
Comments are closed