

Ideally you purchased your Overland with the MX-MSP Ready Seal. If you did, your Overland NAS is already provisioned to connect to MXMSP. In that case you can skip to the section "Add an Overland NAS to your account in IPTechview" below.
Three Steps to provision the Overland NAS to connect to MXMSP or IPTechView.
Step 1:
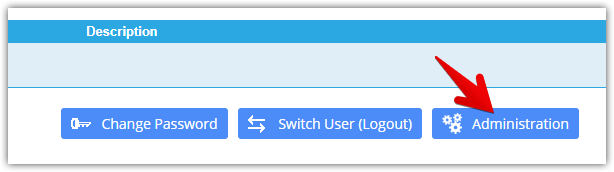
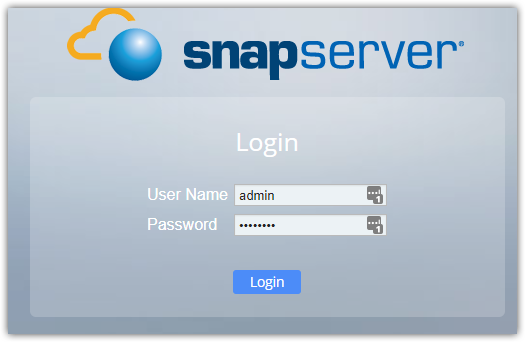
In a Browser Open the device GUI, click on Adminitration and Login. Default credentials are admin / admin
Step 2:
Navigate to the Maintenance - OS Update page. Your Current GOS Version must be 7.7.224
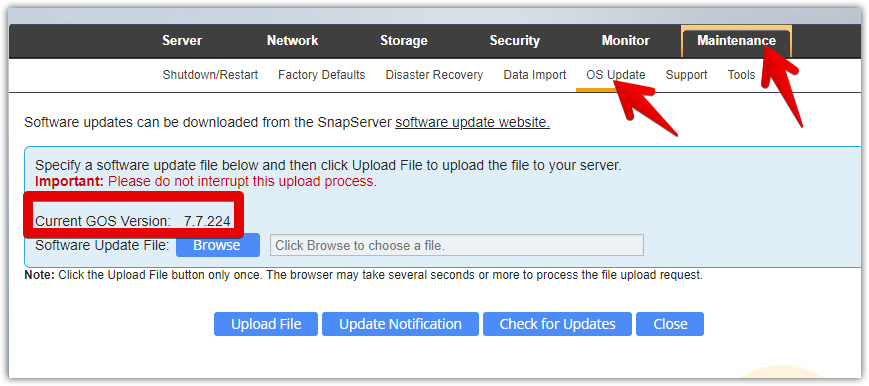
If your current GOS version is NOT 7.7.224 update to 7.7.224 first. Follow same instructions shown in Step 3 but using this file: GuardianOSImage_7.7.224.gsu
Step 3:
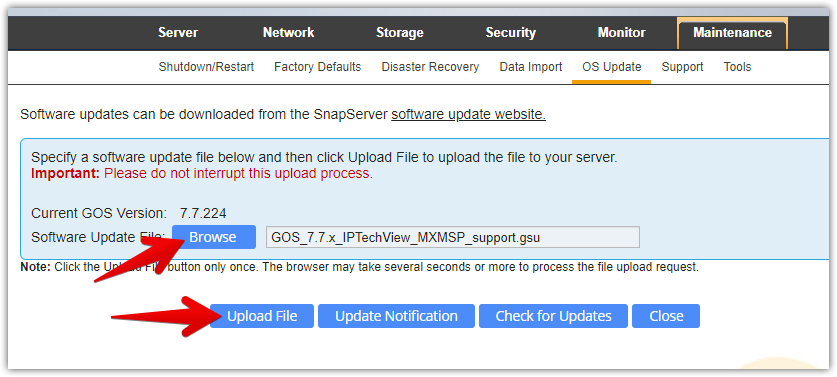
Download GOS_7.7.x_IPTechView_MXMSP_support.gsu file to your computer. Click on Browse, select the file and click on Upload File. Please be patient. It might take up to 10 minutes for the NAS to load the new file and reboot.


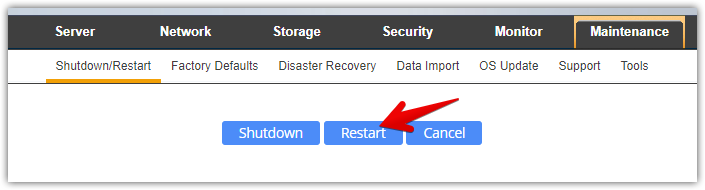
Step 4:
Reboot the Server. Navigate to Maintenance - Shutdown/Restart
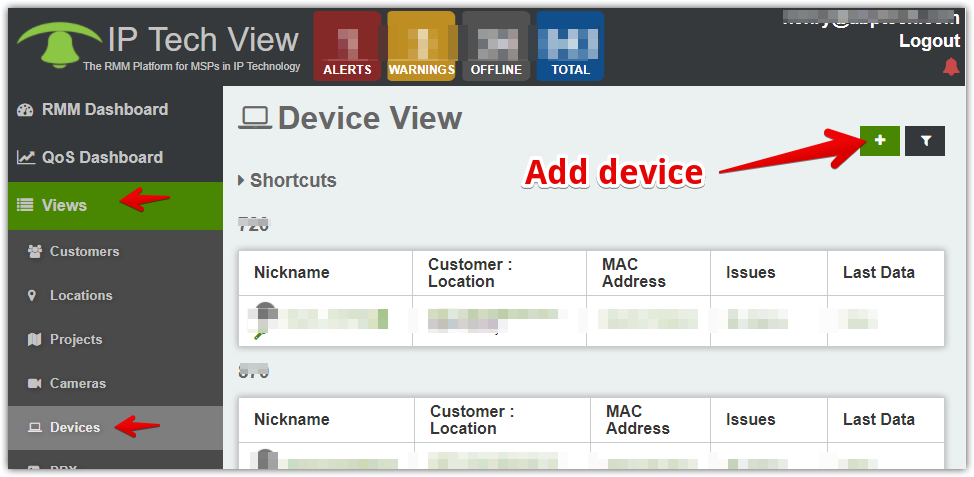
Add an Overland NAS to your account in IPTechview
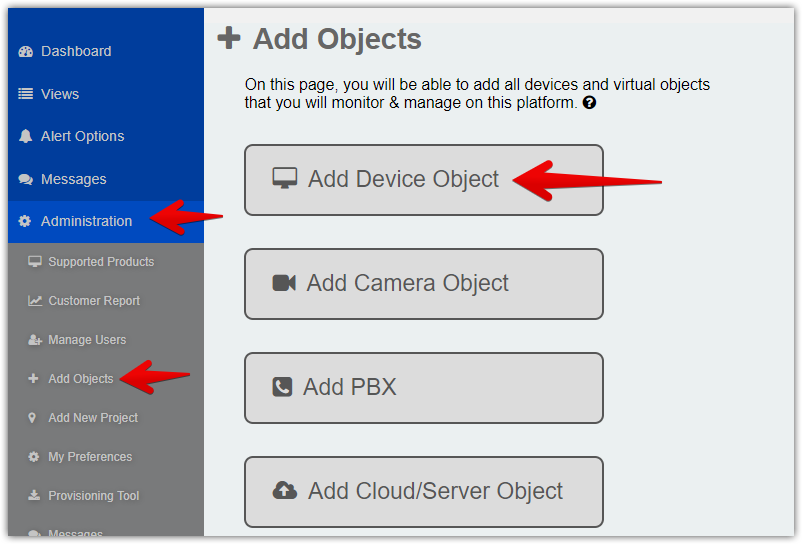
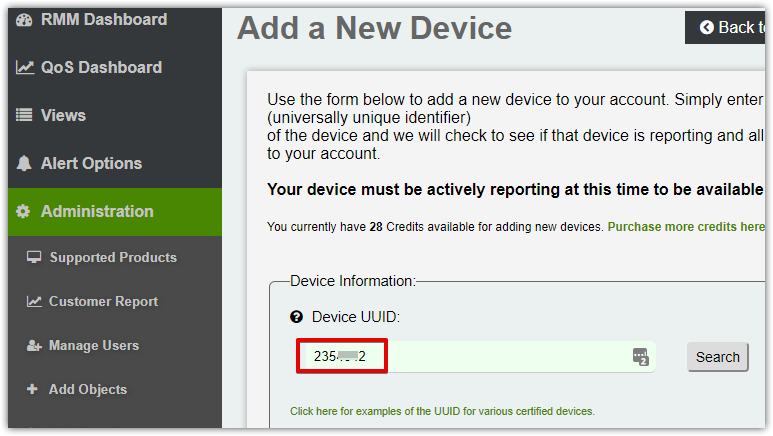
Login to IPTechView or MXMSP and add Device:
or
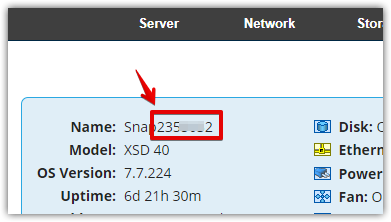
For the Overland SnapServer the UUID is the server name printed in the bottom of the device or in the SnapServer GUI's Admin home screen.
Use the numeric 7 digits. If you changed the Server Name you need to find the 7 digits server number from the label at the bottom of the device.
Click on Search. The system should find your device. Follow screen prompts to add additional information about the device.